If you want to strike any other object, you have no other choice except to use a hammer.
A hammer consists of a handle that is usually made of wood, and a massive head is attached to the handle. The head is made of heavy metal so you can strike an object emphatically.
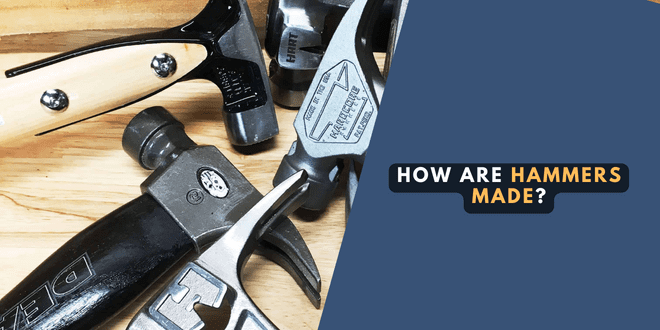
The most common type of hammer is the claw hammer. People use this hammer to drive and pull nails. Another common type of hammers is the ball-peen hammer and the sledgehammer.
You will find a variety of hammers in the shop, and they are different in sizes, weights, shapes, and materials.
Today, I am going to share the manufacturing process of the hammer with you. A new window of experience is waiting for you. Read the article below intently.
Manufacturing Process of a Hammer
A hammer has to go through a significant, precise manufacturing process to take every challenge that you give to it.
The overall manufacturing process follows 3 different manufacturing steps, and it is mandatory to follow the procedure correctly.
If it is not maintained correctly, the head of the hammer may fly off from the handle, which will create severe injury to any human. Or even break any other object.
1st Step: Making the Head
The first step of manufacturing a hammer is making the head. To do this, the manufacturer takes a piece of steel that requires it to be melted at nearly 1,200° – 1,300° temperatures. This way, the metal gets softened, and then it can easily be molded.
After the completion of the heating process, it is taken into 2 separate molds. One mold is usually fixed, and another mould is joined to a metal rod that can be spread against the mold. Until the hammerhead comes in a proper shape, this process is continuously done.
Once the hammerhead comes in proper shape, the manufacturer gives a finishing touch-up to a few minor imperfections.
After that, the hammerhead gets the rest to cool off.
2nd Step: Preparing the Handle
This step is to prepare the handle. A piece of wood is the primary material in this step.
The wood piece should be cut off for a head-shaped feature.
Once it is done, sanding down is inevitable for the wood pieces as well, as a slit need to be cut at the top of the handle, which requires a diagonal shape. After completing this, a sealing coat is used to treat and cover the wood pieces.
3rd Step: Combining the Head and the Handle
We are at the last step of the manufacturing process, where the manufacturer needs to combine the head and the handle using a wedge.
Through the adze eye, the handle is pressed, and within the slit, the wooden wedge is driven. Once the handle is stretched, this wedge drives through it smoothly, and the hammed head takes its place gently in position.
However, it is mandatory to check this area of the hammer promptly to ensure it is not slackened or detached from its place. These steps are not very challenging, but keeping an eye on safety features is necessary.

Types and Usage of Hammers
Various kinds of hammers are available in the market to meet your every requirement.
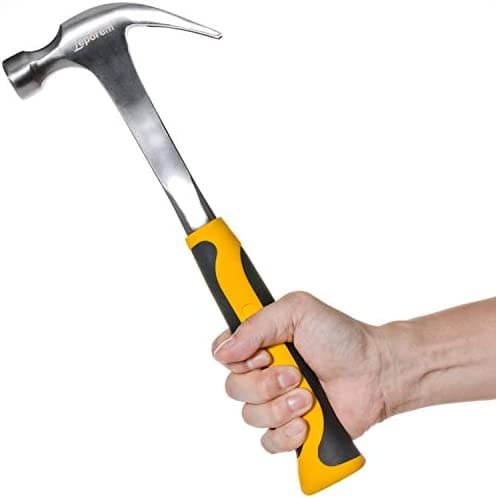
Claw Hammer
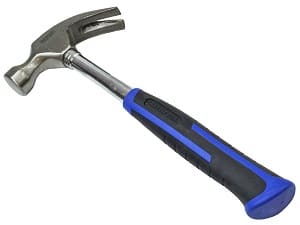
As I stated earlier, the most commonly used hammer is the claw hammer. A claw hammer consists of a metal head, a wooden handle, and, at the back, a “claw.”
There is a little gap in the middle of the claw to make this part of the hammer easy to use as a lever or wedge when you are using it during an operation.
Because of its easy application process, a claw hammer is highly popular among homeowners. Every homeowner owns a claw hammer; even someone from that particular family doesn’t have any background in a construction site.
If you want to drive a nail into a surface, a claw hammer will be the best choice. If you are looking to invest in a hammer, a claw hammer should be it.
Mallet Hammer
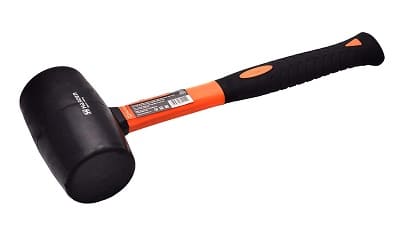
You can’t depend on a claw hammer to accomplish all types of projects. To complete different types of tasks, you need to invest in a different kind of hammer, like a mallet hammer.
Wooden blocks are used to manufacture mallets, and that is placed at the tip of the handle. You can use these tools when you need to hammer a tool instead of a barrier.
These tools are most suitable for performing slow and precise work. Controlling a mallet hammer is so easy, and it confirms that no damage will happen to the material that you are working with.
Framing Hammer
You can use this kind of hammer to build your house frame. The significant difference between framing and a claw hammer is the claw of a framing hammer is short and straight.
The drawback of this hammer is it is not a versatile one and is a bit expensive.
Sledge Hammer
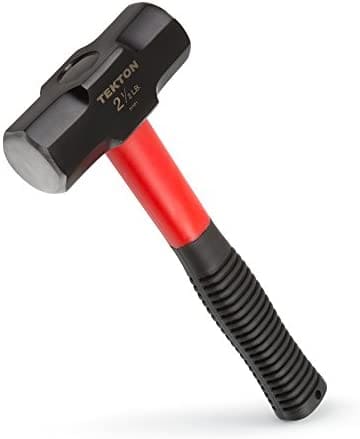
For basic demolition-type work, a sledgehammer is a perfect choice without any confusion.
This hammer can bring down a wall within a short time, as its powerful, massive head can drive a large portion of anything deep into the ground. Because of its basic design, it is one of the most common hammers at any workshop.
Tack Hammer
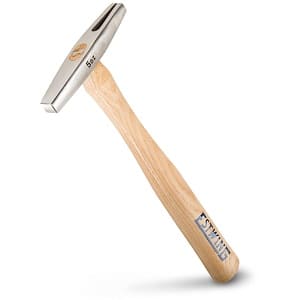
When are you planning to drive a nail into a carpet? Without a tack hammer, you can’t do the task efficiently. A tack hammer is a perfect tool to accomplish this type of task.
The best feature of the tack hammer is one side of these hammers is magnetized to hold things precisely.
Conclusion
The hammer is one of the oldest tools in the history of human civilization. The application process for a hammer is also pretty easy. The main responsibility of a hammer is to break down any object or drive any fasteners on any surface.